APOSTLE
arrow_back Character Consistency Across AI Tools
Module 04 Cross-Tool Transfer

Image to Video Character Consistency

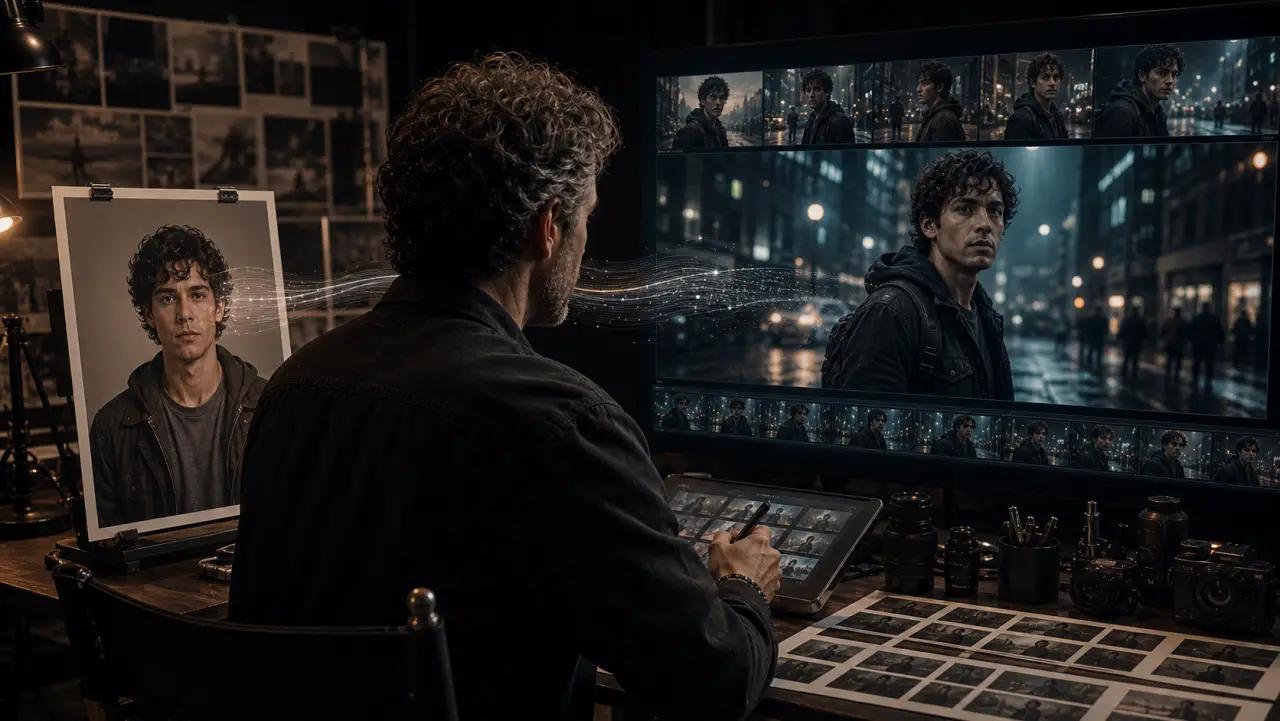
How to maintain character identity when moving from image generation into video generation, using the keyframe bridge method with Veo 3.1, Kling, and Runway.

schedule 14 min
signal_cellular_alt Advanced
menu_book Lesson 04 of 4

Why Image-to-Video Is the Critical Transfer Point

You've generated a perfect character image. Now you need that character to move, speak, and exist across multiple video clips. This is where most consistency breaks happen — because video generation adds three new variables that static images don't have:

1. Motion changes face geometry. When a character turns their head, smiles, or speaks, their face changes shape in ways the AI must interpolate. Each frame is a new generation, and the model must maintain identity through continuous geometric deformation.

2. Lighting shifts across the clip. As the camera or character moves, lighting on the face changes. The AI must decide how shadows fall on THIS specific face (with its specific bone structure) rather than a generic face. Without strong character reference, the model may generate a different bone structure that fits the new lighting.

3. Different video models have different "faces." Veo, Kling, and Runway each interpret facial features slightly differently from the image models that created them. A face generated in Midjourney V7 will look subtly different when animated in Kling versus Veo — even from the same keyframe.

The solution to all three: the keyframe bridge method.


The Keyframe Bridge Method

This is the core technique for transferring character identity from image to video. It was introduced in Course 1 but here we focus specifically on character preservation.

IMAGE GENERATION TOOL                   VIDEO GENERATION TOOL
(Midjourney, Nano Banana Pro)           (Veo, Kling, Runway)
                    │                              │
Character Reference ─┤                              │
        +           │                              │
Environment Reference┤── → COMPOSED KEYFRAME ──── → IMAGE-TO-VIDEO
        +           │    (character + scene          │
Composition Direction┤     in one image)             │
                                                    ↓
                                              VIDEO OUTPUT
                                        (character animates FROM
                                         the exact keyframe)

The keyframe IS the consistency bridge. Because the video model starts from your exact image (which contains your exact character), it doesn't need to generate the character from scratch. It only needs to animate existing pixels.

Optimizing Keyframes for Video Consistency

Not all keyframes transfer equally well into video. Here's what makes a good video-ready keyframe:

GOOD for video transfer:
✓ Character's face is at least 15% of the frame area
  (too small = model can't preserve details during animation)
✓ Clear, even lighting on the face
  (dramatic shadows force the model to guess hidden features)
✓ Front or three-quarter face angle
  (profile views are harder to animate while maintaining identity)
✓ Neutral or moderate expression
  (extreme expressions constrain what the character can do next)
✓ Sharp focus on the face
  (bokeh on the face = the model fills in blurry features differently)
✓ Resolution at least 1024×1024
  (higher gives the model more data to preserve)

BAD for video transfer:
✗ Character's face is tiny in a wide shot
✗ Heavy shadow across half the face
✗ Extreme back-of-head or sharp profile angle
✗ Heavily stylized or illustrated rendering
✗ Low resolution or heavy compression artifacts
✗ Character wearing sunglasses, masks, or heavy face coverage

Pro tip: For wide/establishing shots where the character is small, generate the video WITHOUT trying to preserve fine facial details. Cut to a close-up (generated from a separate, face-focused keyframe) for the identity shot. This is how real filmmakers handle it too — wide shots establish context, close-ups establish character.


Veo 3.1: Ingredients-Based Consistency

Veo 3.1's Ingredients system (via Google Flow) is the most comprehensive video consistency approach.

Workflow

1. Upload your full character reference package to Flow's Ingredients panel
   (headshot, three-quarter, full-body, expressions — all 6 images)

2. For each scene in your project, attach the Character Ingredient

3. Write your scene prompt with character name and action

4. Include Identity Header text in the prompt for reinforcement

5. Generate 3 takes per scene, select the best

6. Evaluate: does the character match across scenes?

Tips for Veo Character Consistency

  • Upload MORE reference images rather than fewer. Veo uses all of them.
  • Include at least one expression reference that matches the scene's emotion (if the character smiles in the scene, include a smiling reference)
  • For dialogue scenes, the model maintains face identity better when you pre-generate the character in a similar pose and expression via Nano Banana Pro, then use that specific keyframe
  • Re-anchor every 3-4 scenes by re-generating a keyframe with the character's face verified against the original headshot

Kling 2.6/O1: Element Library

Kling O1 introduced the Element Library — a persistent reference system specifically for maintaining identity across video generations.

Workflow

1. Upload your character headshot (and optionally full-body) to
   Kling's Element Library → Create Element

2. Name the element (e.g., "Marcus")

3. When generating video, select the Element from your library

4. The character's face is anchored for this generation

5. Use the same Element across all scenes in your project

Tips for Kling Character Consistency

  • Use the full-body reference (not just headshot) for scenes where the character's body is prominent — Kling needs body proportion data for full-shot animations
  • Kling's Motion Brush helps consistency by limiting which parts of the frame change — paint motion ONLY on the areas that should move, keeping the face and body relatively stable
  • For product + character scenes, use separate Elements for the character and the product
  • Start/end frame technique: generate a start keyframe and end keyframe (both with verified character face) and let Kling interpolate between them. This constrains the face at BOTH endpoints.

Runway Gen-4.5: References System

Runway's approach uses "References" — uploaded images that influence generation across multiple clips.

Workflow

1. Upload character references to your Runway project

2. Select "Character" reference type

3. For each generation, attach the reference

4. Write your motion prompt

5. Optionally use First Frame + Last Frame for maximum control

The First Frame + Last Frame Technique for Character Consistency

This is Runway's strongest consistency tool for character work:

First Frame:  Marcus sitting at a desk, facing the camera
              (keyframe from Nano Banana Pro with verified face)

Last Frame:   Marcus standing up from the desk, turning toward the door
              (second keyframe with verified face from a different angle)

Prompt:       "Marcus pushes back from the desk and stands up,
              turning to walk toward the door. Smooth, natural movement."

Because BOTH the first and last frame contain your character's verified face, the model must maintain that identity throughout the interpolation. This is dramatically more reliable than single-frame generation for complex movements.


Managing Multi-Shot Video Consistency

For a complete video project with 5-10+ shots featuring the same character, follow this discipline:

The Re-Anchoring Protocol

Every 3-4 shots:
1. Take the best frame from your most recent clip
2. Compare it side-by-side with your original headshot reference
3. Is it the same person? Score honestly on 1-10.

If score ≥ 8: Continue generating. Character is holding.

If score 5-7: Re-anchor.
   → Generate a new keyframe in Nano Banana Pro using
     the ORIGINAL headshot reference (not recent output)
   → Use this fresh keyframe as the start frame for the next video clip
   → The fresh keyframe resets the drift accumulation

If score < 5: The character has diverged.
   → Return to original reference package
   → Re-generate keyframes for ALL remaining shots
   → Consider whether a different tool or technique is needed

The Continuity Sheet

For projects with 8+ shots, maintain a continuity sheet tracking character appearance per shot:

CONTINUITY SHEET — Marcus Rivera
Project: Origin Coffee Commercial

Shot | Tool  | Keyframe Source | Face Match (1-10) | Notes
-----|-------|----------------|-------------------|------
  1  | Kling | Original anchor |        10         | Baseline
  2  | Veo   | NBP keyframe   |         9         | Slight warm shift
  3  | Veo   | NBP keyframe   |         8         | Beard slightly longer
  4  | Kling | NBP keyframe   |         9         | Good match
  5  | Veo   | Re-anchored    |         9         | Reset after shot 3 drift
  ...

This catches drift before it accumulates and creates a record of which generation approaches worked best for this specific character.


Practical Exercise

Exercise: Produce a 3-Shot Consistent Video Sequence

Using the character package from Module 2:

  1. Generate 3 keyframes in Nano Banana Pro, each showing your character in a different scene:

    • Keyframe A: Character at a desk, working (medium shot)
    • Keyframe B: Character walking through a doorway (full shot)
    • Keyframe C: Character standing at a window, looking out (medium-close)
  2. Verify consistency across all 3 keyframes — place them side by side. Same person? If not, regenerate the weakest one using the strongest as an additional reference.

  3. Generate 3 video clips (one from each keyframe) using Kling or Veo:

    • Clip A: Subtle push-in, character typing (3 seconds)
    • Clip B: Tracking shot following the character through the door (4 seconds)
    • Clip C: Static shot, character turns toward camera and smiles (3 seconds)
  4. Assemble all 3 clips in sequence. Play back. Does the character feel like the same person across all shots?

  5. Score each clip 1-10 for character consistency. Identify where identity held and where it drifted.

This is the real test of everything you've learned in this course. If the character reads as the same person across 3 different shots in 3 different scenes — you've mastered the core skill.


Key Takeaways

  • The keyframe bridge method is the fundamental technique for image-to-video character transfer. The keyframe contains the character; the video model animates from it.
  • Good keyframes for video have the face at ≥15% of frame area, clear lighting, front or three-quarter angle, and sharp focus.
  • Each video tool has its own consistency system: Veo's Ingredients, Kling's Element Library, Runway's References. Use the native system of whichever tool you're generating with.
  • First Frame + Last Frame (Runway/Kling) constrains identity at both endpoints, producing the most reliable results for complex movement.
  • Re-anchor every 3-4 shots by returning to the ORIGINAL reference, not recent outputs.
  • Maintain a continuity sheet for projects with 8+ shots to track and catch drift before it accumulates.

Course Complete

You've now learned the complete character consistency pipeline — from understanding why it breaks, to building reference packages, to applying tool-specific techniques, to transferring characters from images into video.

The progression:

Module 1: Why it breaks → Anchor and Constrain principle
Module 2: Reference packages → The 6-image standard + Identity Header
Module 3: Tool techniques → Midjourney --oref, Nano Banana Pro multi-ref,
                            FLUX LoRA, SOUL ID
Module 4: Image to video → Keyframe bridge, Ingredients/Elements,
                           re-anchoring protocol

Character consistency is the skill that separates amateur AI creative work from professional output. The techniques in this course scale from quick social posts (Level 1) to multi-month character IP (Level 3). Choose the investment level that matches your project — and build up as your work demands it.


References & Resources

Copied to clipboard