
Creative Direction Fundamentals
01 Art-Directed Prompts and the Taste Gap 15 min 02 JSON Context Profiles and Brand Case Studies 12 min Midjourney V7 Deep Dive
03 V7 Parameters, Weights, and Personalization 18 min 04 The Editor and Omni Reference System 14 min Gemini Image Generation
05 Gemini API Setup and Image Generation 16 min 06 Advanced Techniques and Platform Comparison 12 min Photorealism Techniques
07 Focal Lengths, Lighting, and Film Stocks 20 min 08 Skin, Fabric, and Color Grading Terminology 14 min 09 Photographer References and Editorial Formulas 16 min Character Consistency
10 Midjourney cref, oref, and Turnaround Sheets 15 min 11 Gemini Multi-Turn, FLUX LoRA, and Cross-Platform 18 min Commercial Applications
12 AI UGC and Product Photography Workflows 14 min 13 Pricing, Job Market, and Portfolio Building 12 min Supporting Tools
14 Flora AI, Higgsfield, SOUL 2.0, and Pro Workflows 16 min arrow_back AI Creative Director 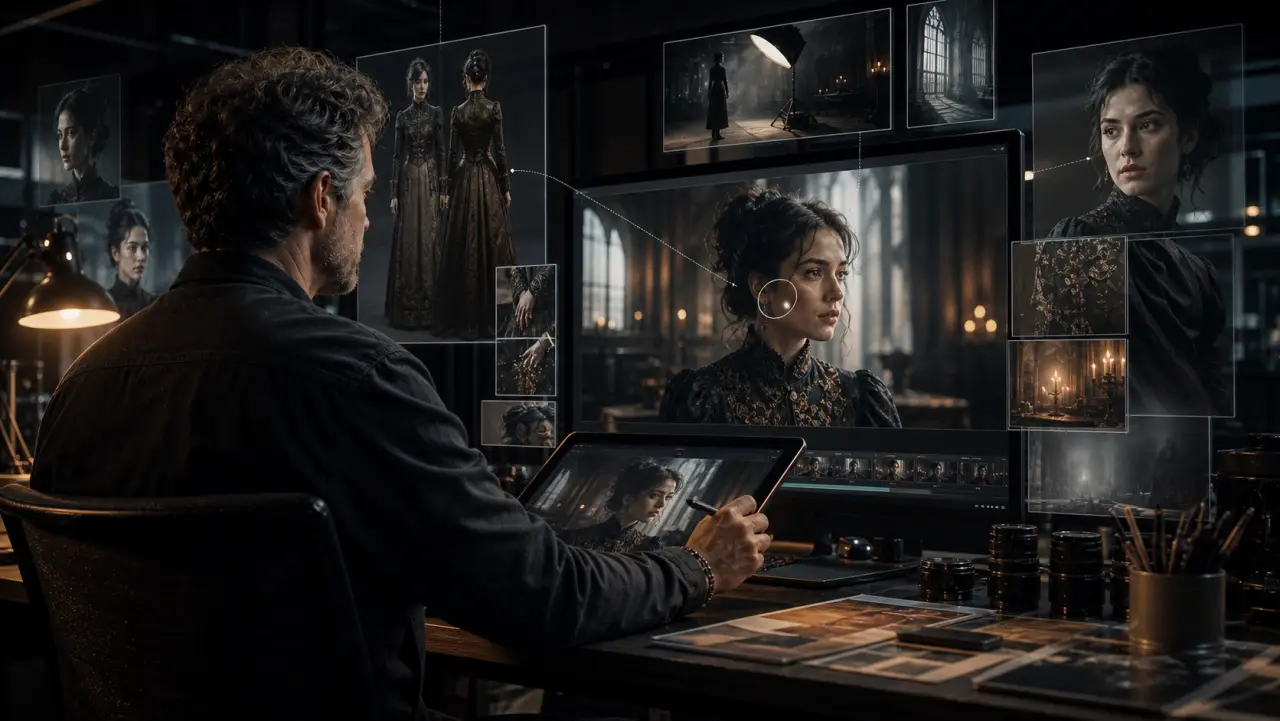
Cinematic Outcome Reference-guided image editing staged like a professional edit bay.
Module 02 Midjourney V7 Deep Dive
The Editor and Omni Reference System
Master Midjourney's built-in editor tools — inpainting, panning, zoom, retexture — and the powerful new Omni Reference system.
schedule 14 min
• signal_cellular_alt Intermediate
• menu_book Lesson 04 of 14
image Visual References
Free Course Access
Unlock the full Apostle course library.
Enter your email once for free updates on new models, new courses, and useful AI production facts.
Copied to clipboard